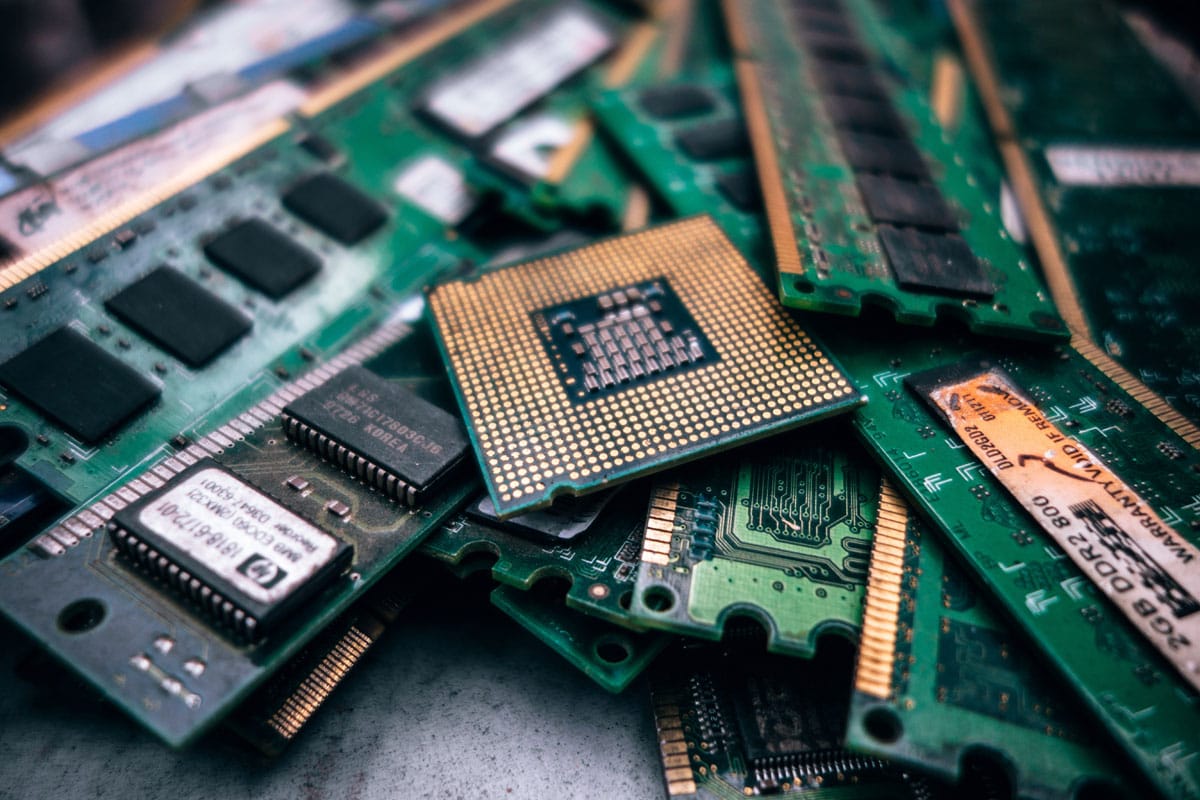
While the method employed to extract gold from electronics is reasonably straightforward, the chemicals utilized are extremely dangerous and should not be conducted without adequate education and equipment.
Please know, this is not designed to be a lucrative activity. However, it is an excellent scientific endeavor.
CHECK OUT: The 10 Most Expensive Phones Ever Made
Gold is used in electronic devices because of its durability, electrical conductivity, and corrosion resistance. Internal modems, SSDs, random access memory chips, motherboards, and central processing units contain valuable metal traces:
WARNINGS AND DISCLAIMER:
- This process can cause serious harm to health, and can even cause death.
- This process is likely to damage the equipment and apparatus used.
- Information about safety, chemicals, and best practices should be researched from multiple sources with authority on the subject before any actions are carried out.
- Nerdable is not responsible for actions taken or damage done.
- Do not continue reading or watching if these warnings and disclaimers are not accepted.
1. Preparation Of Computer Components
The ideal components to employ in this experiment are printed circuit boards, motherboards, central processor units, random access memory chips, drives, and other internal modems.
Identify gold-colored spots on these components and remove the surrounding plastic. To extract a significant amount of gold, you need to have more gold-colored parts than plastic.
Dismantle the components into little pieces that will fit in a beaker and soak them in a stripping solution
2. Remove The Boards
Place your circuit boards in a glass container. Hydrochloric acid and weak hydrogen peroxide should be mixed in a separate container (a concentration of three percent).
WARNING: Safety equipment should always be used when handling chemicals and components. Nerdable is not responsible for actions taken or damage done.
Pour enough of this mixture over the circuit boards to submerge them completely. Allow one week, stirring the vessel daily with a glass or plastic rod.
The acid will deepen with time, and gold flakes will fall off the pieces.
CHECK OUT: 10 Amazing Walmart Deals This Week
3. Wait For It
All that is required in this phase is to wait for the gold foils to separate off the PCB. Once you notice all of the gold foils floating around, wait another day to ensure that all nickel has been removed from the gold foils.
This procedure should take no more than a few days.
4. Remove The Gold Foil
Separate the gold foil from the solution at this point. After soaking the electronic components for a few days, you will observe that the solution of peroxide becomes thicker. Do not fear; you will still retrieve the tiny gold strips taken from the computer components.
Pour the stripping solution through a fine wire mesh strainer set over a bucket.
Leave the computer components at the bottom of the beaker; these should be disposed of carefully after removing as much gold as feasible from them.
Transfer the gold foils to a clean bucket containing clean distilled water after each sieving. Take your time and gather as much gold as possible.
CHECK OUT: 9 Most Expensive Watches In The World – $10 Million And Higher
5. Melt The Gold
Heat a clay bowl with a blowtorch while wearing appropriate, flame-resistant gear, boots, and goggles.
Add some borax (available from pharmacists); this allows the gold to be melted at a temperature less than 1,064 degrees Celsius.
Add the gold flakes when the borax begins to soften. Heat the flakes until they melt into a gold bead. Allow cooling slightly before scraping the gold from the re-solidified borax.
WARNING: Again, always use safety equipment and research best practices for handling materials used in this process. Nerdable is not responsible for actions taken or damage done.
6. Properly Dispose of Hazardous Wastes
Package your etching solution in a bottle with a very tight-fitting cap (if using chemical concentrations greater than those used in this example, package in a glass bottle).
Label the bottle clearly with the words HAZARDOUS, DO NOT DRINK, OR OPEN in large letters across the bottle.
Tape the cap shut with masking tape to ensure that anyone who obtains it does not open it.
Additionally, keep away from others, particularly small children, and any additional bottles of the same type.
Place PCBs in a plastic bag and discard them. These are acceptable to discard if you followed the preceding procedure of soaking them in a cup of water. If not, soak in water before disposal.
WARNING: Information about safety, chemicals, and best practices should be researched from multiple sources with authority on the subject before any actions are carried out. Nerdable is not responsible for actions taken or damage done.
