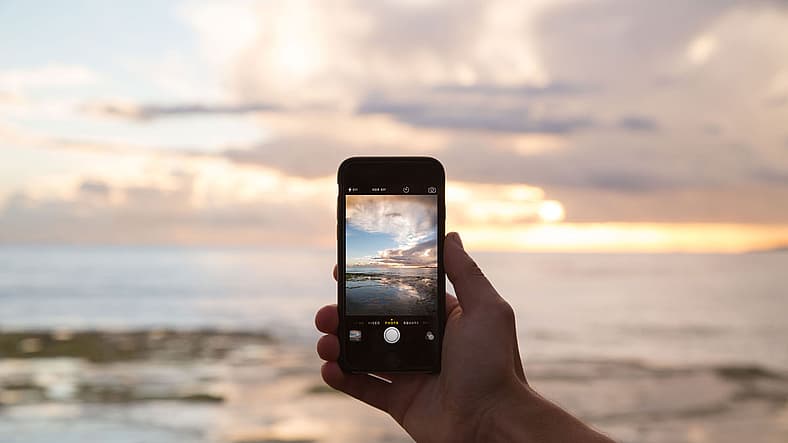
In 2015, the iPhone 6S let you could capture Live Photos. These are images that combine to create a short 3-second video clip. However, when uploaded to other devices or shared online, they would revert to a picture picked from somewhere between the three seconds time that sometimes doesn’t look perfect.
In iOS 13, Apple gave you the option to share them as a short video clip to other devices, all with movements and sounds. The following explains how to do that.
CHECK OUT: What Is Battery Health And Cycle Counts On iPhone?
What Are Live Photos?
When you take a Live Photo, it records the 1.5 seconds before the shutter button was pressed and 1.5 seconds after it was pressed. The resulting image includes an extra bit of information that allows you to view it as an animated GIF or even 3D Touch on an iPhone 6s/6s Plus (or later).
There are several downsides, for example, you can’t send a live photo to your loved ones with an Android device. Nor can you share them on your social networks either, and that’s why converting them into a video is useful.
CHECK OUT: How To Get iOS 12 On Your Old iPhone, iPad, And iPod Touch?
How to Take Live Photos?
If you want to take a Live Photo, simply launch your camera app on an iPhone and make sure that you’ve enabled the “Live Photos” feature. Then, in photo mode, hold your device steady and click away. Just remember, you are effectively taking a 3-second photo.
How To Turn A Live Photo Into A Video
A Video In iOS 13 (Or Beyond):
In iOS 13, 14, or 15, the Save as Video option in the Photos app makes it easy to save a Live Photo as a video with a single tap. There’s no need to use a third-party app. To do this:
- Launch the “Photos App” on your iOS device.
- Scroll down to “Albums”.
- Open the album labeled “Live Photos.” You will find all the live photos captured there.
- Choose the image (live photo) you want to convert and click on the share icon.
- Scroll down, and you’ll find the option to “Save as a Video”. Click this to turn the live photo into a video and share.
ALSO READ: 6 Best Streaming Services For Geeks
Pre-iOS 13:
If you’re using earlier versions of iOS, but you want to convert your live pictures to video, here’s how to do this:
- Open the live image you want to convert.
- After that, swipe up, which will take you to the “Effects” menu.
- From there, you can animate your image into a bounce or loop. “Loop” repeatedly plays your animation. In contrast, “bounce” plays the animation back and forth. It’s a similar feature that everyone can access on Instagram, named “Boomerang.”
- Once you choose the animation and save your video file, it will be saved in the Photos app Animation folder. If this is your first time adding animation to a photo, it’ll create a new folder automatically.
- If you do not see an Animation Folder, sync your device, then go to Settings > iCloud > Storage & Backup > Manage Storage and make sure that the option “Automatic” is set to ON. Then restart your device and follow these steps again.